If you are interested in macramé and wondering where to start, here's the perfect tutorial for you. We will go through basic and most commonly used macrame techniques so you can easily pick up other more complex knots moving forwards!
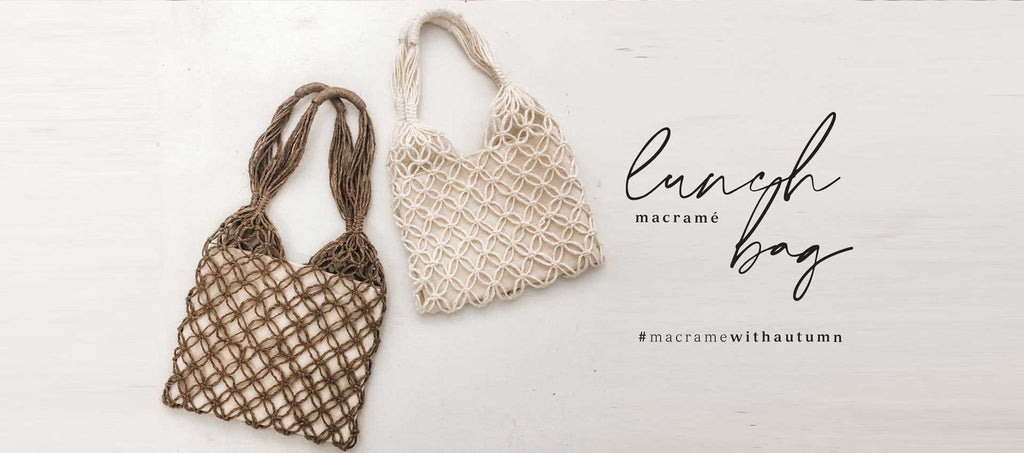
We designed a DIY macramé kit along with this tutorial too! It includes all materials – 100g Natural Bag Jute Yarn, a dowel, two handsewn khadi cotton bag linings and a spacer to help you achieve consistent spacing between each row of knots and of course pattern designed by macramé artist Dora of Hang With Dora.
You can also use other cords of your choice and follow this tutorial to make the bag or adapt the pattern to a larger net bag!
Before we start, let's go through the different basic macrame knots so you are familiarised with them before following the pattern.
Now that you've learnt the knots required to make the bag, let's measure out the required yarn amounts and get ready to make your first macrame lunch bag!
Step 1:
Cut 30 pieces of yarn measuring 1.5 meters each (28 pieces for the body of bag + 2 pieces for the handle).
Step 2:
Prepare the dowel by attaching a piece of double-sided tape along the top of the dowel. The tape will help hold the yarn in place when you tie the knots.
Tip:
The jute yarn used in this tutorial is of similar thickness to a 1.5mm macrame cord so you can sort of use the same measurements for it. If you are using a thicker cord, you'll want to measure out more to be safe and leave a bigger gap between each row of alternating square knots.